



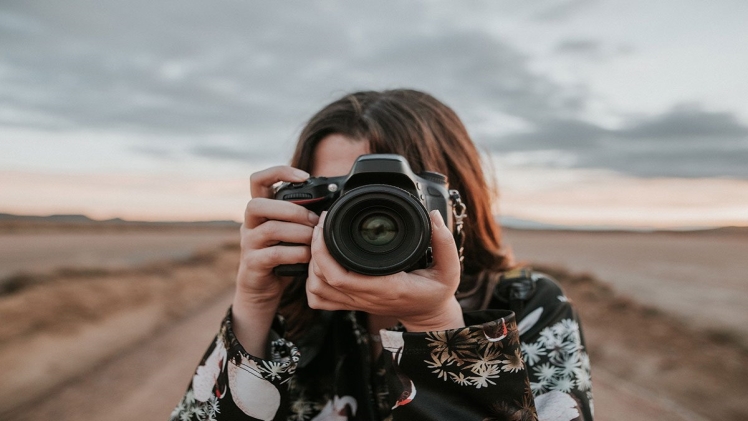
Photography, as William Eggleston famously stated, is the most democratic of the arts because almost anyone can participate. However, it can also be the most democracy-challenging art form since many people unintentionally produce poor-quality images. Even professional photographers often make amateur mistakes.
When your ID photo is made public, your appearance significantly impacts how others perceive and interact with you. Capturing a good ID photo is challenging—ID photos are rarely flattering but tend to be unforgettable. The image you present in your id photo should be memorable, while your candid photos should portray a familiar, authentic version of yourself.
Important Tips for Your ID Photos
When asked to produce a photo ID, you face the choice of snapping your picture at home or using a professional ID photo service. Your ID photo represents a small but crucial part of your identity. It presents you to the world and government authorities, making it essential to get it right since you’ll be identified by that photo for years to come.
Here are some valuable tips to help you capture a better ID photo.
1. Get a Good Background
You don’t need an expensive studio or a bulky tripod to achieve a clean background. Simple props and a neutral wall or backdrop can work wonders. Natural light usually offers the best effect, but if you find it difficult, consider using a small reflector to bounce light or enhance contrast subtly during editing.
2. Get Yourself Comfortable
Choose a comfortable position—sitting is preferable to standing if possible. Maintain good posture by sitting or standing straight but relaxed. Avoid stiff or tense poses, as feeling at ease helps your facial expression appear more natural.
3. Take ID Photos in Natural Light
Natural light, even on overcast days, usually provides soft, even illumination that minimizes harsh shadows and squinting. Avoid direct sunlight, which can cause discomfort and uneven lighting.
4. Use Manual Mode on Your Camera
Automatic camera settings often overexpose subjects, especially in bright conditions. Switching to manual mode gives you greater control over exposure and focus, ensuring a balanced and clear photo.
5. Take Plenty of Pictures
The more photos you take, the higher your chances of getting the perfect shot. This approach is similar to professional portrait photography, where sharp focus on the subject’s face is critical. Keep in mind, many cameras struggle with face detection focus, so taking multiple shots helps.
6. Try Different Backgrounds
While plain backgrounds are standard, experimenting with subtle, non-distracting patterns can add visual interest and depth to your ID photo. Ensure backgrounds comply with official ID photo requirements.
7. Experiment with Various Lighting Settings
Bright direct light can wash out your features, but too little light can cause grainy, unclear images. Aim for balanced lighting conditions—soft, diffused light works best for clear and flattering photos.
8. Use Light and Shadows to Add Dimension
Introducing a subtle shadow or directional light toward your face can add depth and interest to your photo, especially indoors. Avoid harsh shadows that can distort your facial features.
9. Choose a Simple, Non-Distracting Background
Stick to plain walls or unpatterned surfaces that do not detract attention from your face. A clean background ensures that you are the focal point of the photo.
Following these tips will help you capture better ID photos that accurately represent you. For more detailed guidance, explore fake id photo tips.
Why ID Photos Matter
- ID photos help me remember the country or place I visited. Reading descriptions is one thing, but seeing images of familiar faces and locations makes the experience more vivid and memorable.
- A good ID photo captures details guidebooks often overlook. While guidebooks name famous landmarks, an ID photo shows the real appearance and atmosphere of those places.
- If I capture a unique image not found elsewhere, I can share it with friends who were also there or show it when I return as a personal souvenir.
- ID photos assist me in recalling forgotten details. After a trip, making a slideshow from my photos refreshes my memory and helps me plan future visits.
- ID photos often reveal aspects I missed during my visit. Reviewing them before leaving the airport brings back forgotten moments worth reflecting on.
- They also preserve memories of moments I saw but didn’t photograph, serving as a visual diary of my experiences.
Frequently Asked Questions (FAQs)
ID photo requirements vary by country and issuing authority but typically include a plain, light-colored background, a clear view of the face without shadows or obstructions, neutral facial expressions, and no accessories like hats or sunglasses unless for medical or religious reasons. Always check official guidelines before taking your photo.
Yes, many smartphones today have excellent cameras capable of producing high-quality ID photos if used properly. Ensure good lighting, a clear background, and follow official specifications regarding size and format.
Before submitting your photo, compare it against official guidelines provided by your government or issuing agency. Some countries provide online tools or recommendations. Using professional ID photo services is another way to ensure compliance.
Wear solid-colored clothing without busy patterns for a clean appearance. Avoid white if the background is white, and refrain from wearing uniforms or overly casual attire. Ensure your hair does not cover your face.
ID photos are usually taken under specific conditions with strict guidelines, including neutral expression and standardized background. Everyday photos are more flexible and capture you in natural or candid moments, which is why they may look different.


